 SnapPose
Portrait mode is the most used and most misunderstood feature on a phone camera. It promises the blurred background of a professional lens, and often delivers, but it also fails in ways that are easy to avoid once you understand what is happening. A few minutes of knowing how it works will save you a lot of strange-looking photos.
What portrait mode really does
A phone has a tiny sensor and a tiny lens, so its background is naturally sharp. A large camera with a wide lens blurs the background through optics. Portrait mode fakes that effect with software.
It estimates how far each part of the scene is from the camera, using a second lens, a depth sensor or a prediction from a single image. Then it blurs everything it decides is “far”. The blur you see is a computed effect, not optics, which is why it can look wrong in places where a real lens would not.
Why edges go wrong
The software must separate the subject from the background pixel by pixel. Fine hair, glasses frames, a hand holding a cup, or a person standing against a similar colour are the hard cases. When the cut-out is wrong you get a halo around the head, a blurry ear, or a patch of sharp background between an arm and the body.

You can reduce these errors with two simple choices. Place your subject a few steps away from the wall behind them, and choose a background whose colour or brightness is different from the hair and clothes.
Distance matters more than settings
Most phones expect the subject to be somewhere between about one and two and a half metres away. Closer than that, the effect may refuse to work or warn you to move back. Farther, the blur becomes weak and the subject looks small.
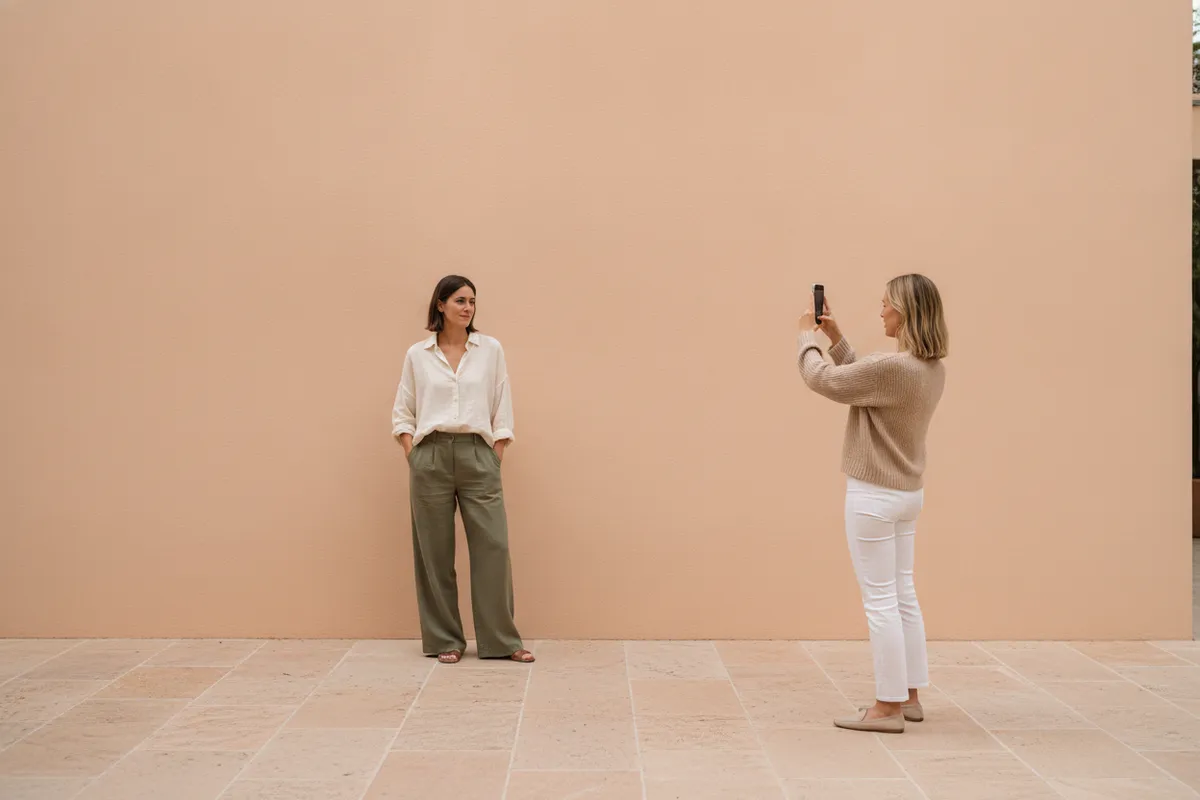
Move your feet instead of zooming. Keep the distance between your subject and the background the same from shot to shot so the amount of blur stays consistent across a set of photos.
Light helps the depth map
Dim rooms make depth estimates noisy, because the camera has less detail to work with. Stand near a window or under an even light source. Harsh sun on one side of the face can confuse the software, while soft light from the front or the side produces smoother edges and cleaner hair.

Look for the telltale signs
Before you accept a portrait mode photo, zoom in on three places: the outline of the hair, the gap between an arm and the body, and anything thin such as glasses or a necklace chain. If the blur stops abruptly or sharp background pokes through, take another shot with a small change of angle.
Backgrounds with fences, railings or leaves in front of the subject are the most common cause of broken edges.
When to skip portrait mode
- Group photos, because the software often blurs someone at the edge.
- Pets and moving children, since motion breaks the depth estimate.
- Scenes with railings, fences or foliage in front of the subject.
- Photos where the background is part of the story, such as travel pictures.
In those cases, use the normal camera and make the subject stand out by composition. Put them off-centre, use leading lines, or step back and let the setting tell the story.
Adjust the blur afterwards
Most phones let you change the blur strength after the shot. A moderate setting looks more natural than the strongest one. If the edges look fake at high blur, lower it a little. Most people never notice the difference in the subject, but they notice a halo immediately.
Some phones also let you change which part is in focus after you take the picture. If the eyes are slightly soft, tap to refocus before saving.
A simple routine for every portrait
Put the subject a little away from the background, check the light on the face, and tap on the eyes so focus is exactly where you want it. Take two or three frames with tiny changes of angle rather than one, because the edge quality can change from frame to frame even when nothing seems different.
Finally, look at the result at full size before you delete the other frames. A photo that looks fine on a small screen can show a clear halo when it is printed or posted at larger size, so a short check now saves a retake later.
A quick checklist
- Keep your subject one to two and a half metres away.
- Leave some space between the subject and the background.
- Use soft, even light, ideally near a window.
- Check hair, glasses and arms for strange edges.
- Switch to the normal camera for groups, pets and busy foregrounds.
- Reduce the blur strength if the edges look cut out.