 SnapPose
Group photos usually fail in the first ten seconds: one person hides behind another, someone is half out of the frame, and the photographer says “a bit closer” five times. A few arranging rules, applied in order, turn the shuffle into a quick, calm routine and leave everyone visible.
Start with the frame, not the people
Decide where the phone will be and what is behind the group before anyone moves. Pick a spot with a plain background and even light, and put the phone at about chest height or slightly above the shortest face. Then walk the group into the space the camera sees.
Starting with the frame means you move people once, not four times. It also lets you check the edges of the shot while the group is still choosing where to stand, so nobody has to hold a pose while you adjust.
Build rows by height and depth
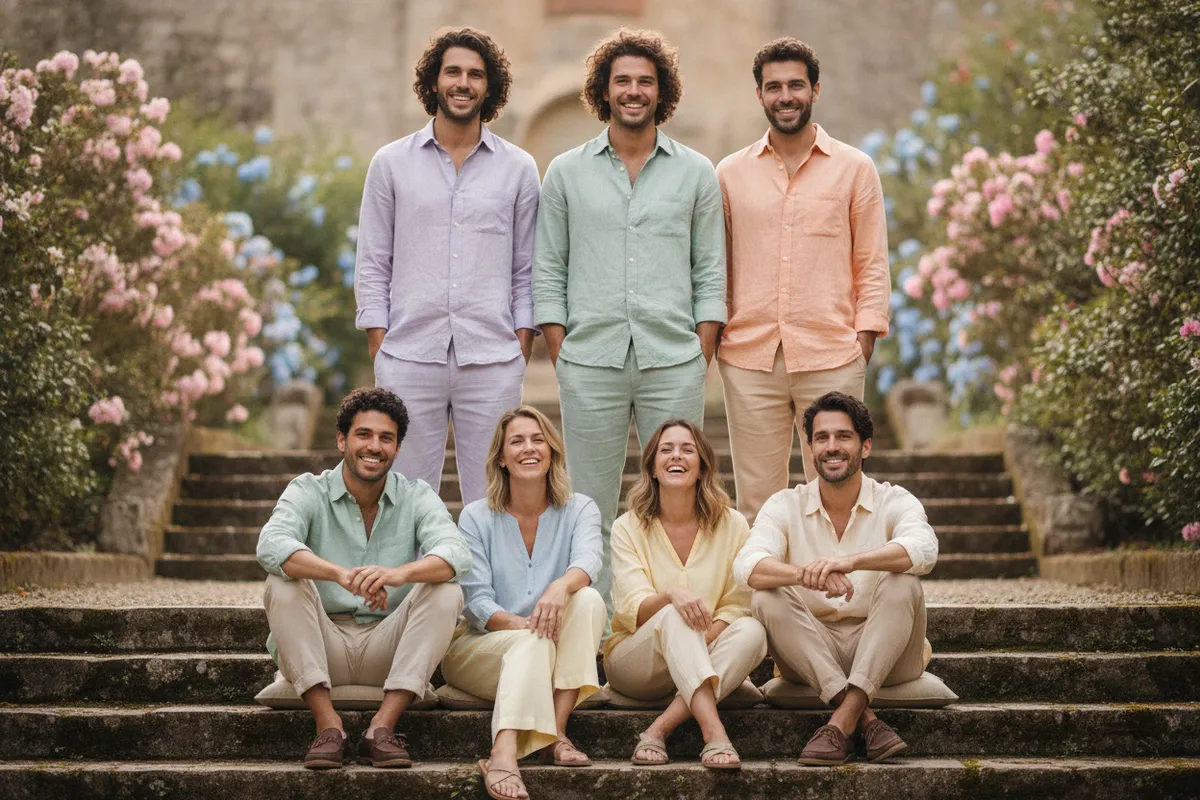
Two or three people can stand side by side. From four upward, use a staggered arrangement:
- Back row: the tallest people, standing behind and between the shorter ones.
- Front row: the shortest, or people sitting on a step, a bench or the ground.
- Gaps: each back-row head should sit in the gap between two front-row heads, so every face has its own space.
If the group is eight or more, a third row is possible, but check the back row has clear sight of the lens. If you can see their face on the screen, the lens can too.
Use the ground and the furniture
Steps, low walls, benches and the edge of a fountain are free risers. Seat some people and stand others, and you get a natural tier without asking anyone to crouch.
When there is nothing to sit on, ask the front row to kneel on one knee or bend slightly at the waist while the back row stands straight. Avoid asking everyone to squat, because the knees give out and the smiles go with them.
Deal with the very tall and the very short
Every group has one person who towers and one who disappears. Put the tallest person at the outer edge of the back row, so they do not block anyone, and bring the shortest person to the middle of the front row where they are seen first. If the height gap is large, ask the tall person to bend their knees a little or lean in; a small drop brings their face into the same band as the others.
Do not ask anyone to stand on tiptoe. It looks strained and wobbles in the final frame.
Close the gaps
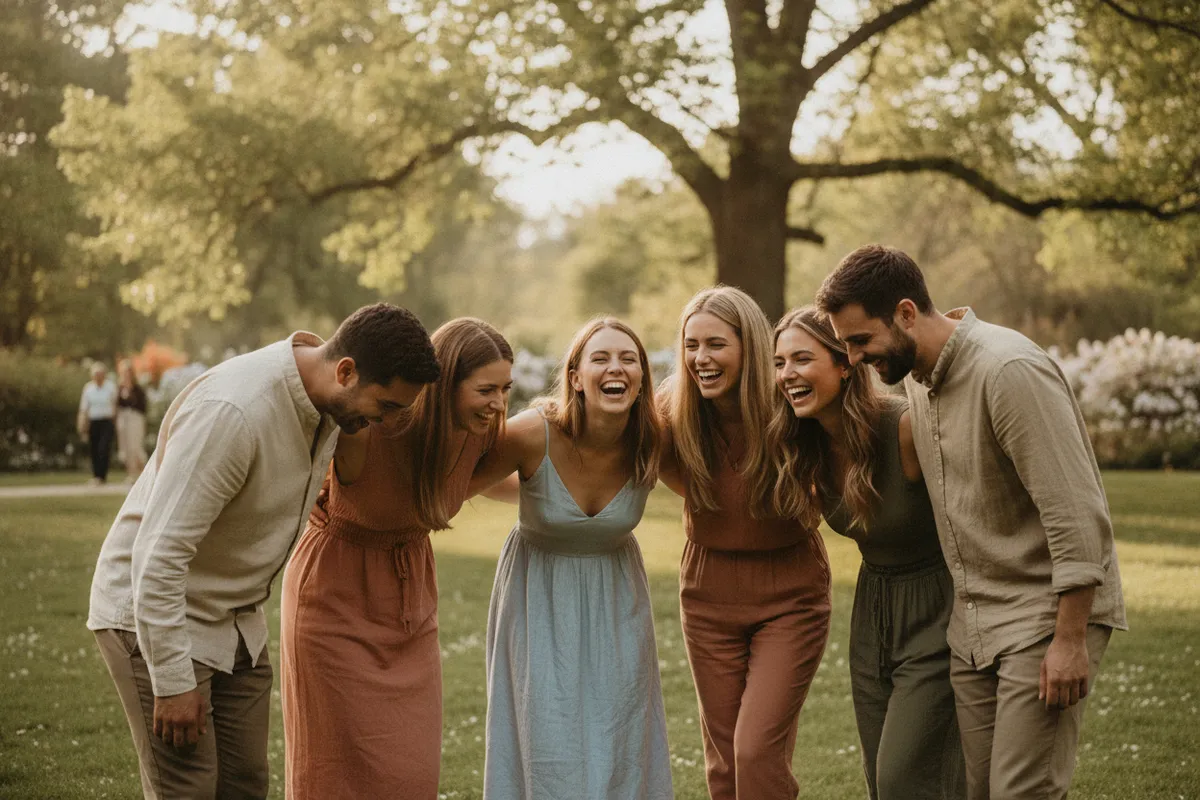
The most common flaw is air between people. Ask everyone to step in until their shoulders almost touch, and angle their bodies a quarter turn toward the centre. A tight group looks warmer and fits a smaller frame, so you can step back less and keep the faces larger.
A simple instruction works well: “Shoulders touching, and lean toward the middle.”
Give hands and arms a plan
With six people, six sets of hands will find six odd places. Offer a default:
- Arms around the nearest shoulders or waists, loosely.
- Hands resting on the shoulder in front of you.
- If standing alone at the end, one hand in a pocket and a relaxed weight on the back foot.
Sunglasses should come off for at least one frame, and bags can go on the ground just outside the shot.
For more on the quieter poses, see how to pose for photos when you feel awkward.
Shoot like a short film
Group photos are not a single moment. Take a burst, because somebody always blinks.
- Say “ready” and take three or four frames straight away.
- Ask for a laugh or a silly face and take a few more.
- Ask them to look at each other, then at the lens, and shoot again.
The in-between frames are often the best, because people forget the lens and just enjoy being together.
Check the edges and the faces
Before everyone relaxes, scan the screen. Check the edges for half a shoulder or a missing hand, then zoom in on the faces to find blinks. If the photographer is part of the group, use the timer or ask a stranger, as in how to ask a stranger to take your travel photo.
Say it kindly: “One more, because Sam blinked.” People are generally patient when they know why.
A quick checklist
- Choose the background and light before moving anyone.
- Put the phone at chest height or just above the shortest face.
- Stagger rows: tall at the back, short or seated in front.
- Make each head sit in a gap, not behind another.
- Close the gaps and lean everyone toward the middle.
- Give hands a default.
- Take a burst, then a laughing frame, then check faces.